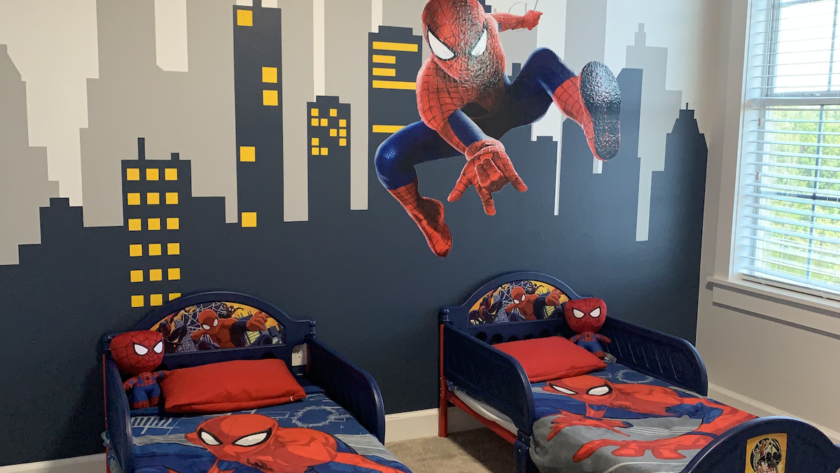
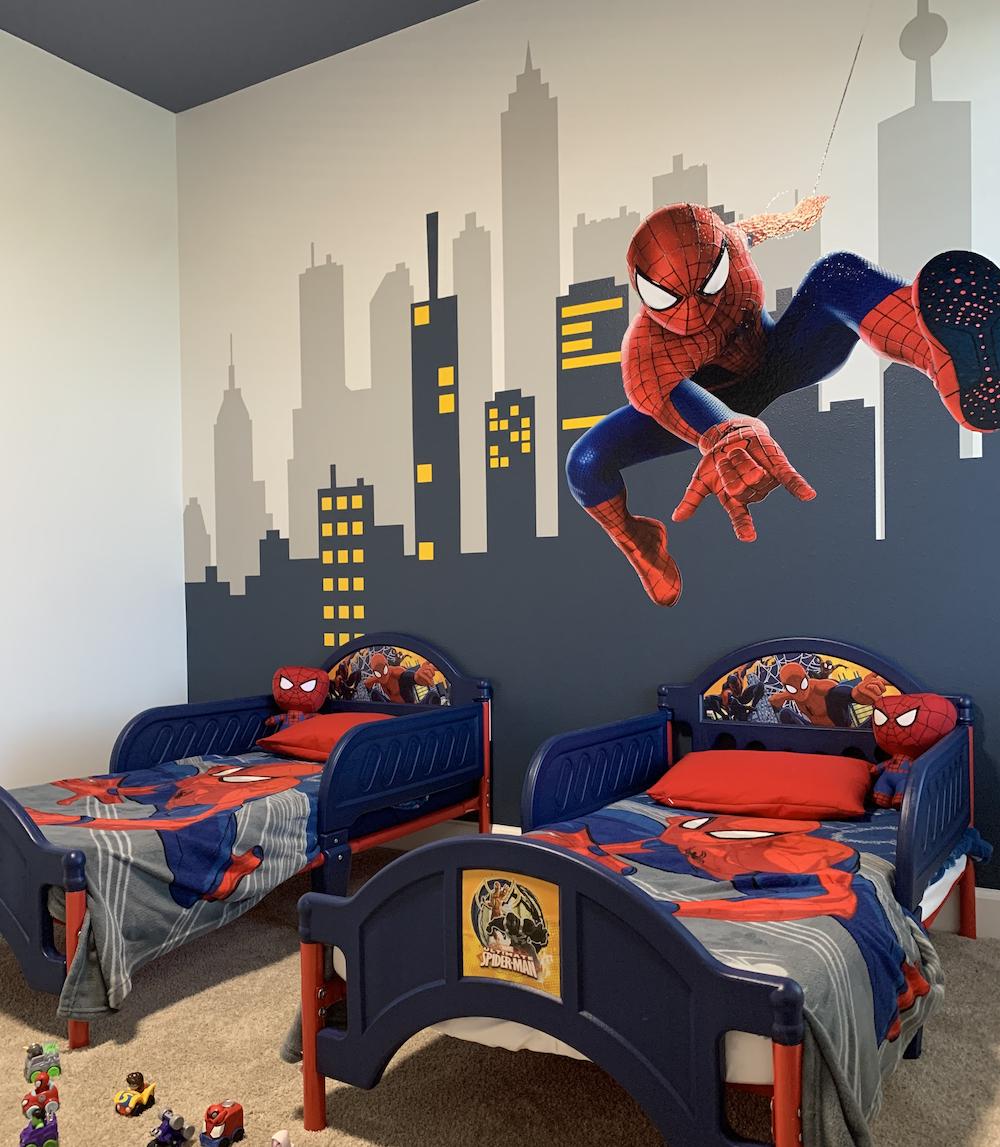
When I asked Jorge for his opinion on a Spiderman sticker I wanted to buy for the boys’ room, I could not have anticipated this incredible transformation.
While I am not the biggest fan of tutorial writing, mostly because I often forget to document the steps, I am excited to give this one a try. I can only hope that your child loves it as much as our boys did.
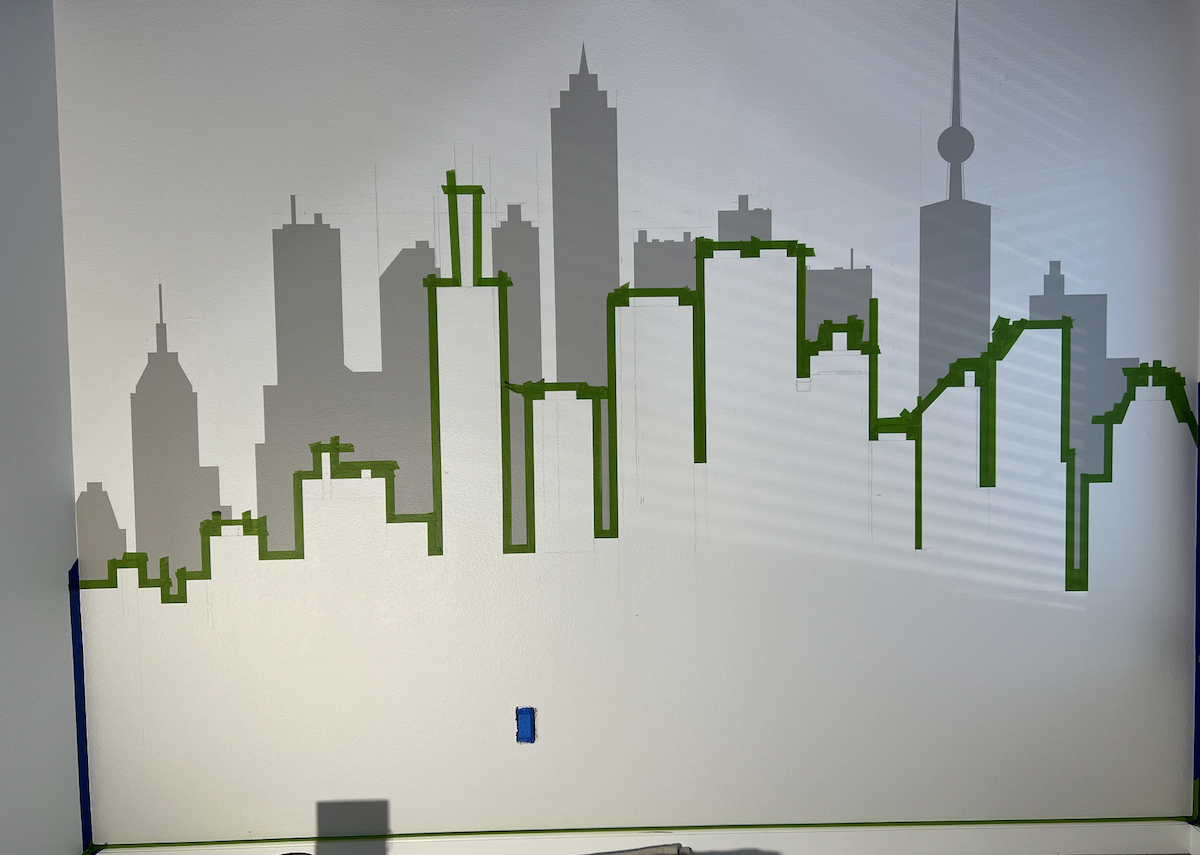
Step 1
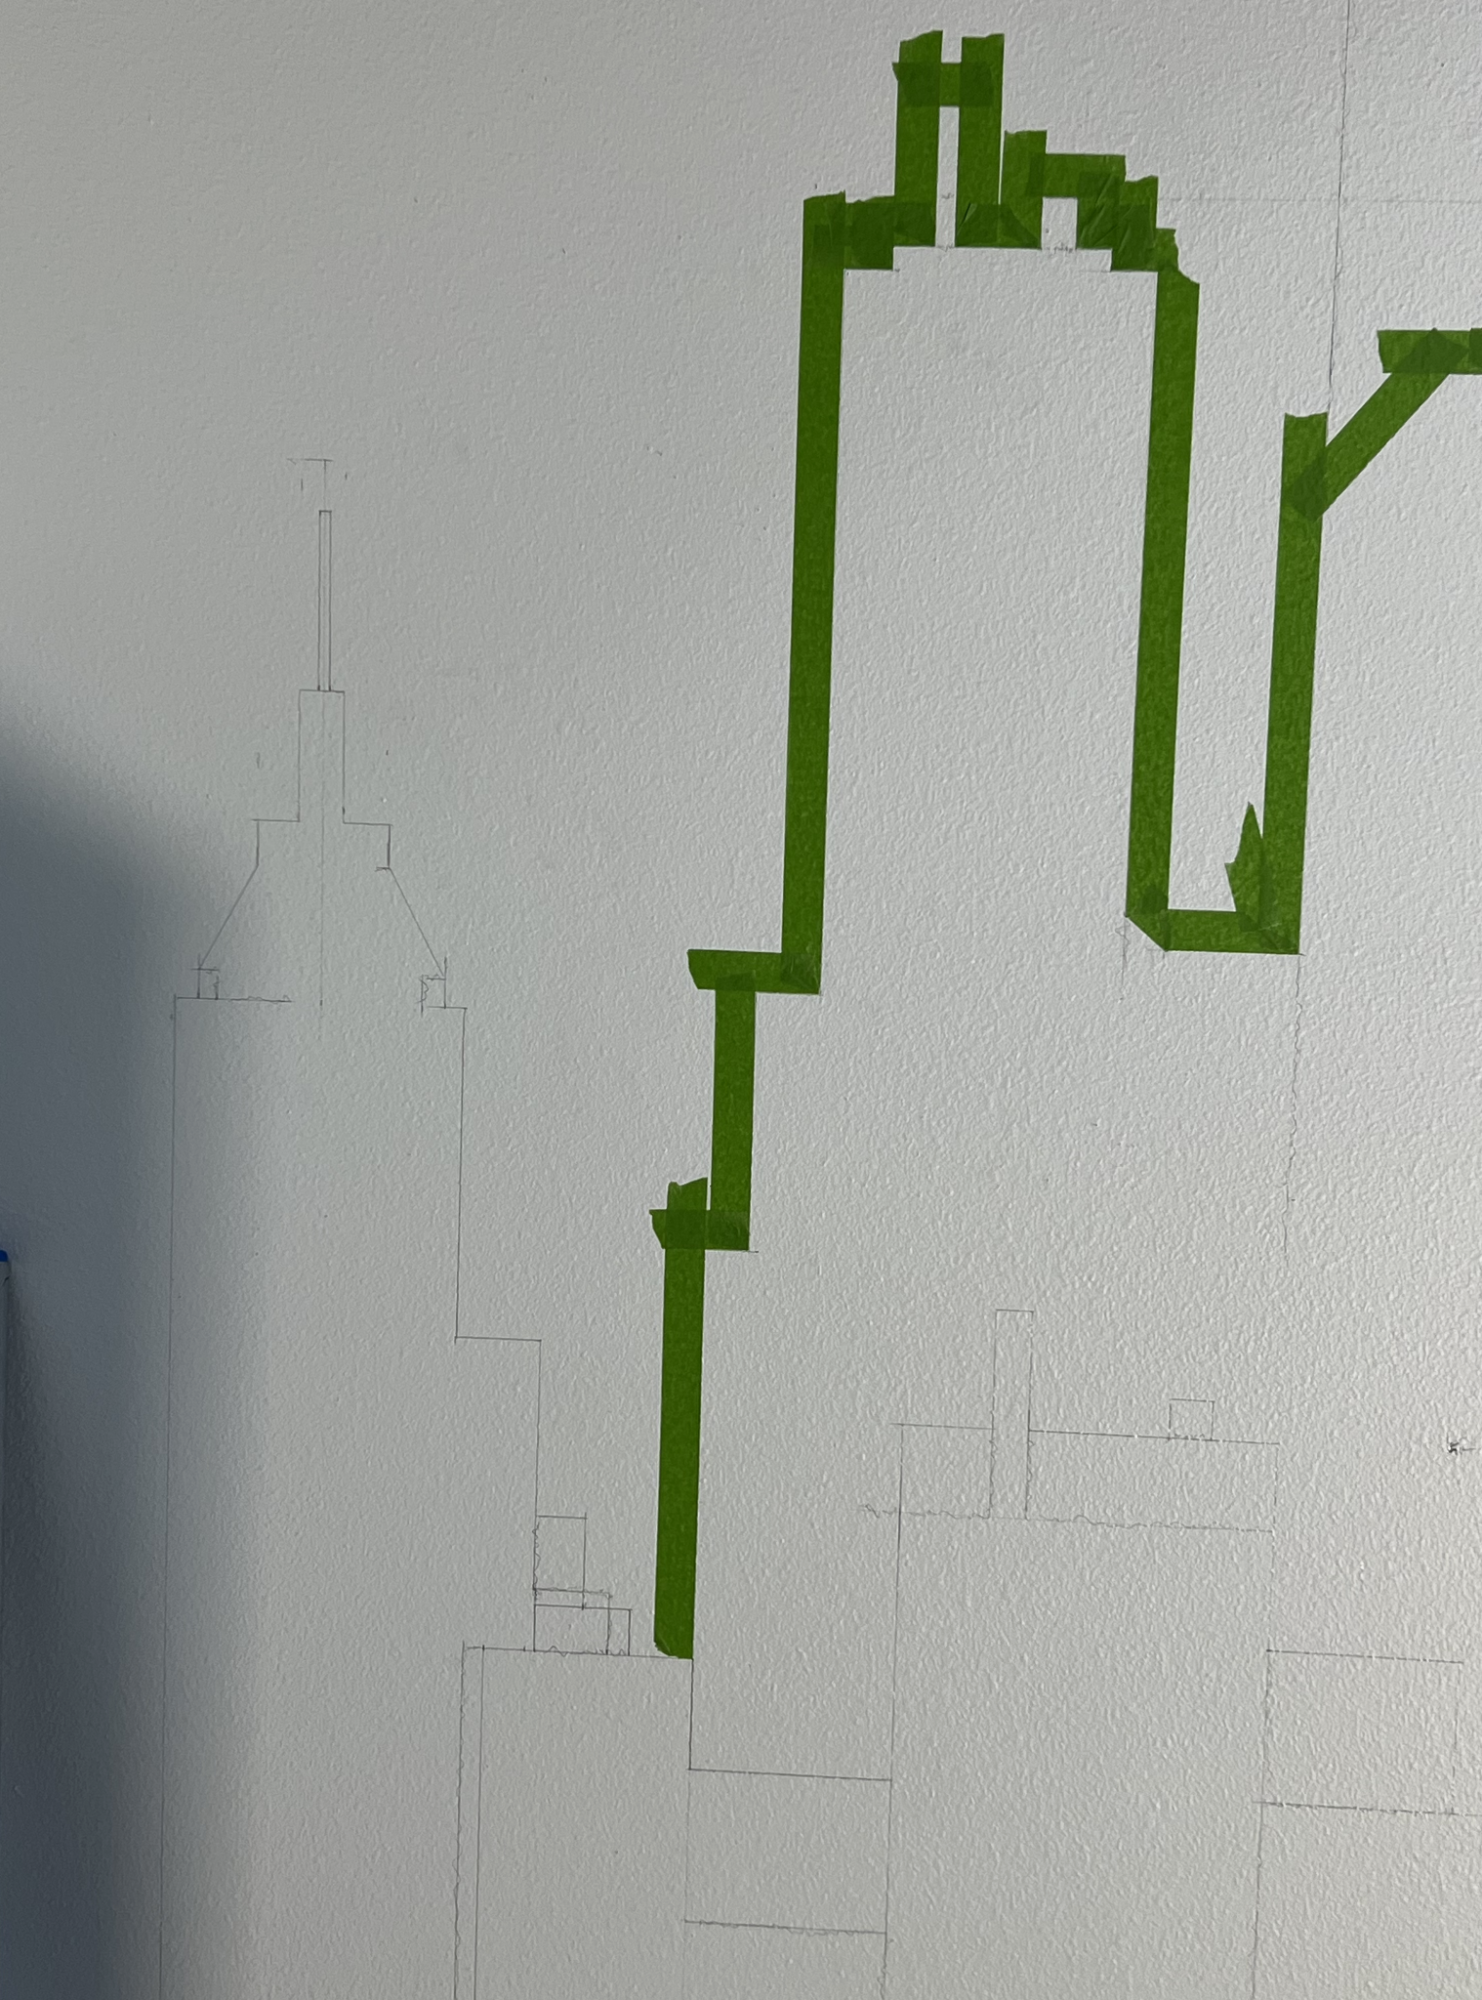
Draw each of the buildings you want to include on the wall using a pencil. Once you are done drawing them, using a combination of straight lines, you can use tape to divide the areas you will be painting. We (and by that I totally mean Jorge) did all of our drawing on a white wall. The majority of the taller buildings were painted gray.
He used this image as inspiration:

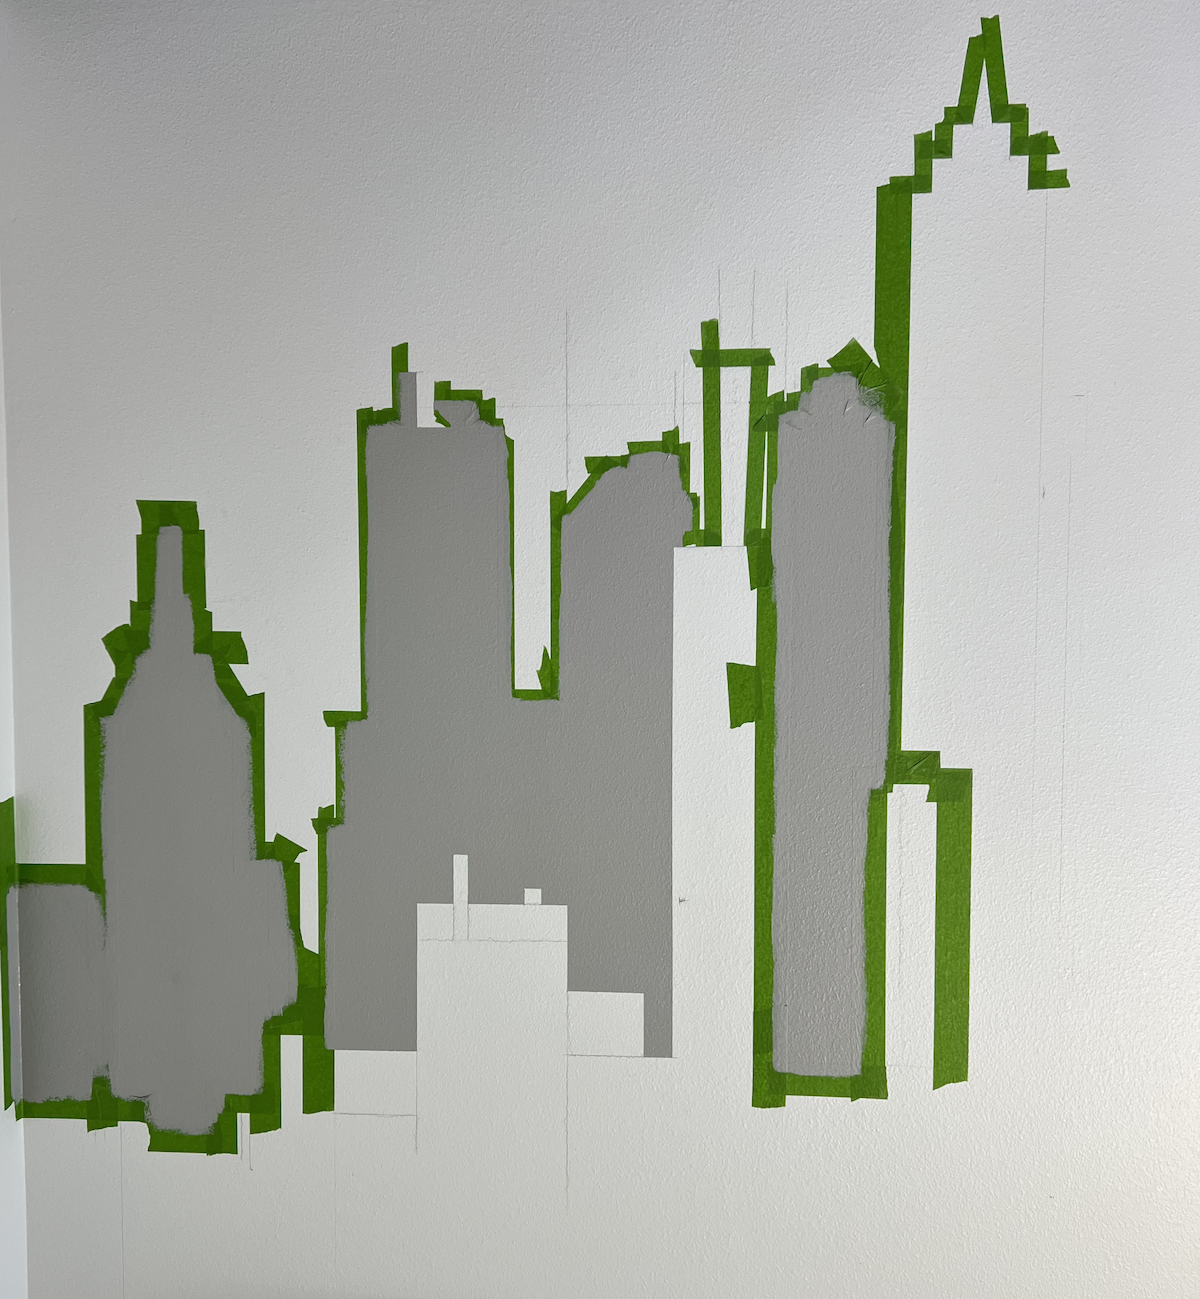
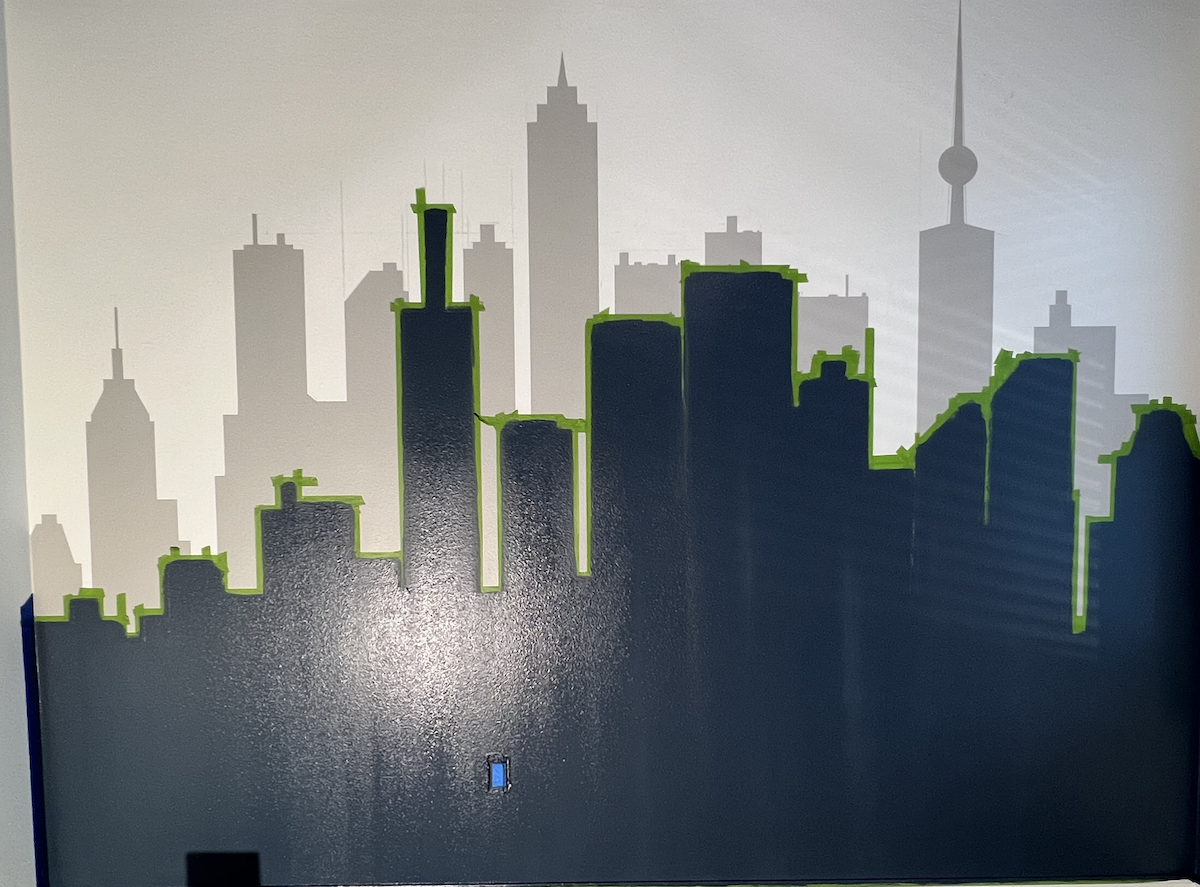
Step 2
Once taped, begin painting inside the taped area. As you can see, Jorge was drawing, taping, and painting as he was going but you may chose to draw all the buildings first, then tape, and finally paint. Having different heights makes it look more like an actual city. The bottom area included smaller buildings that were painted in a darker tone.
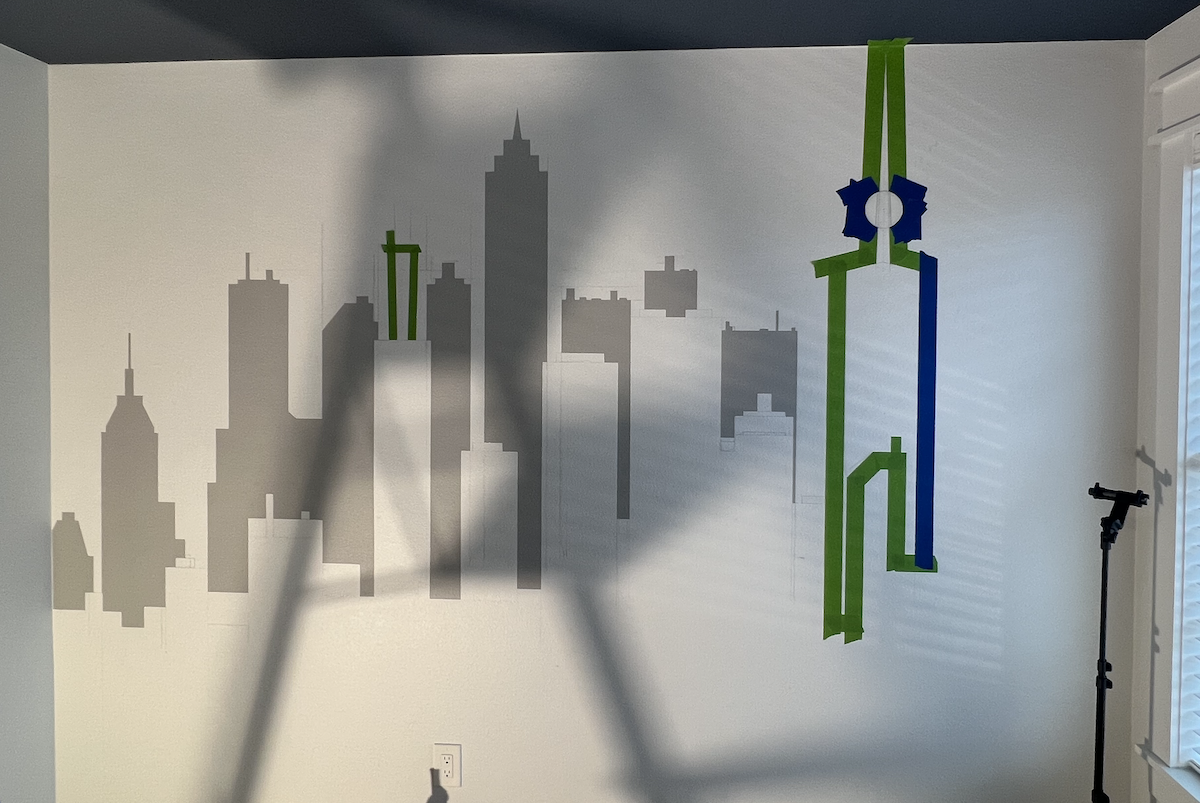
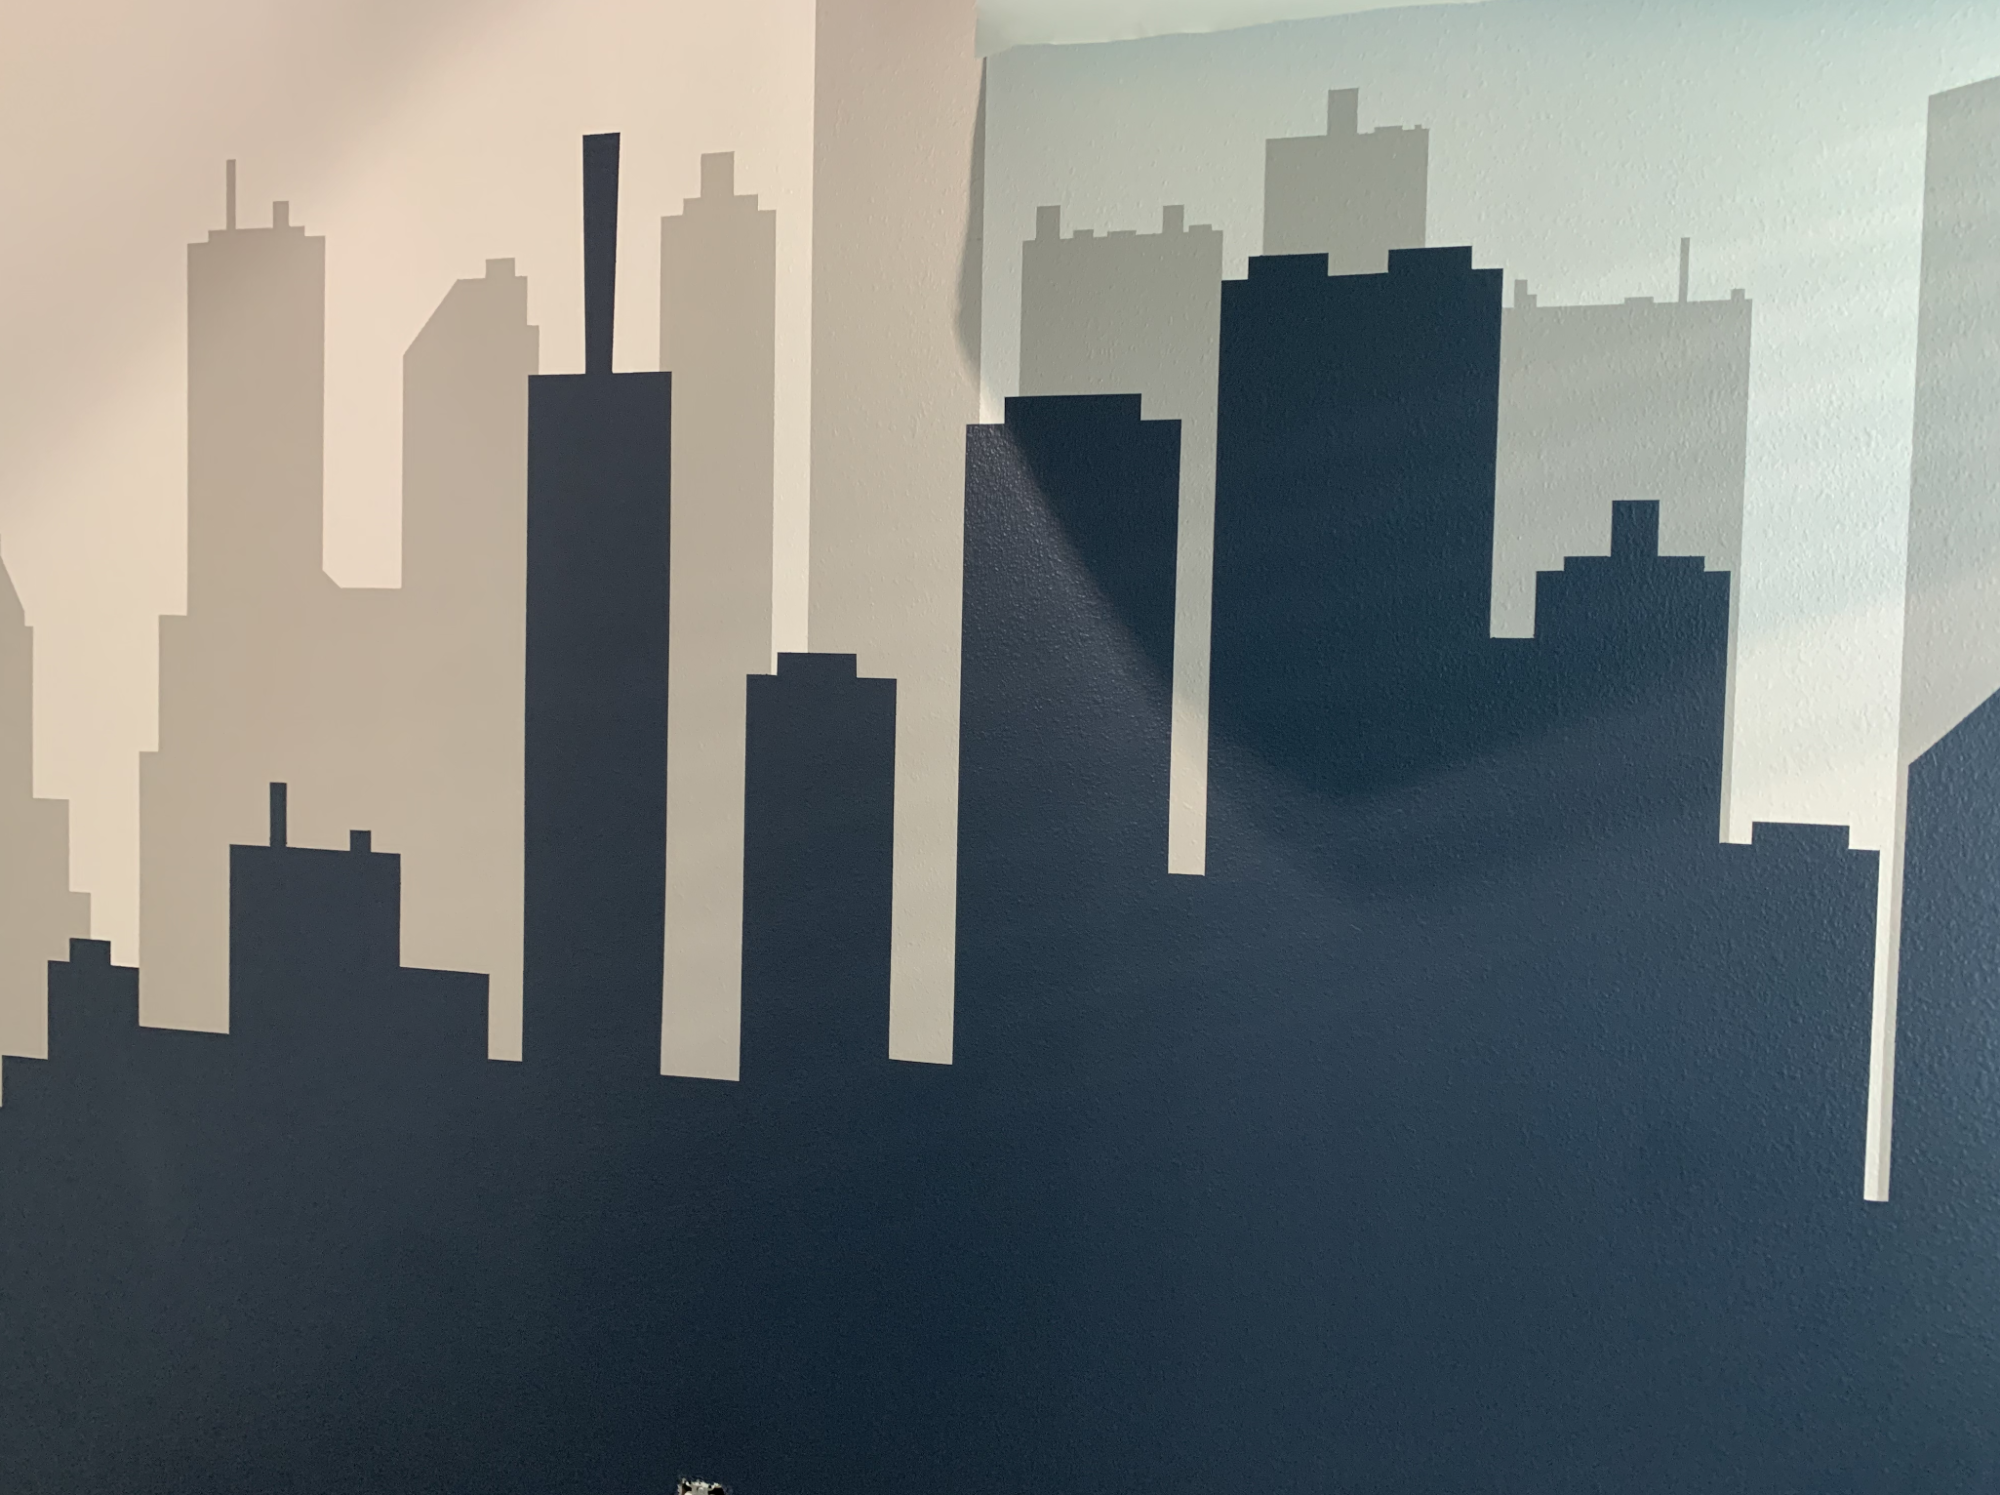
Step 3
Once all top buildings are painted, remove the tape and use the lines to guide taping of the shorter building and some taller accent buildings. We used a darker tone to show the difference.
Step 4
Paint the bottom area which included shorter buildings in a contrasting color. We decided to go with a dark blue, the same as the ceiling in that room.
Step 5
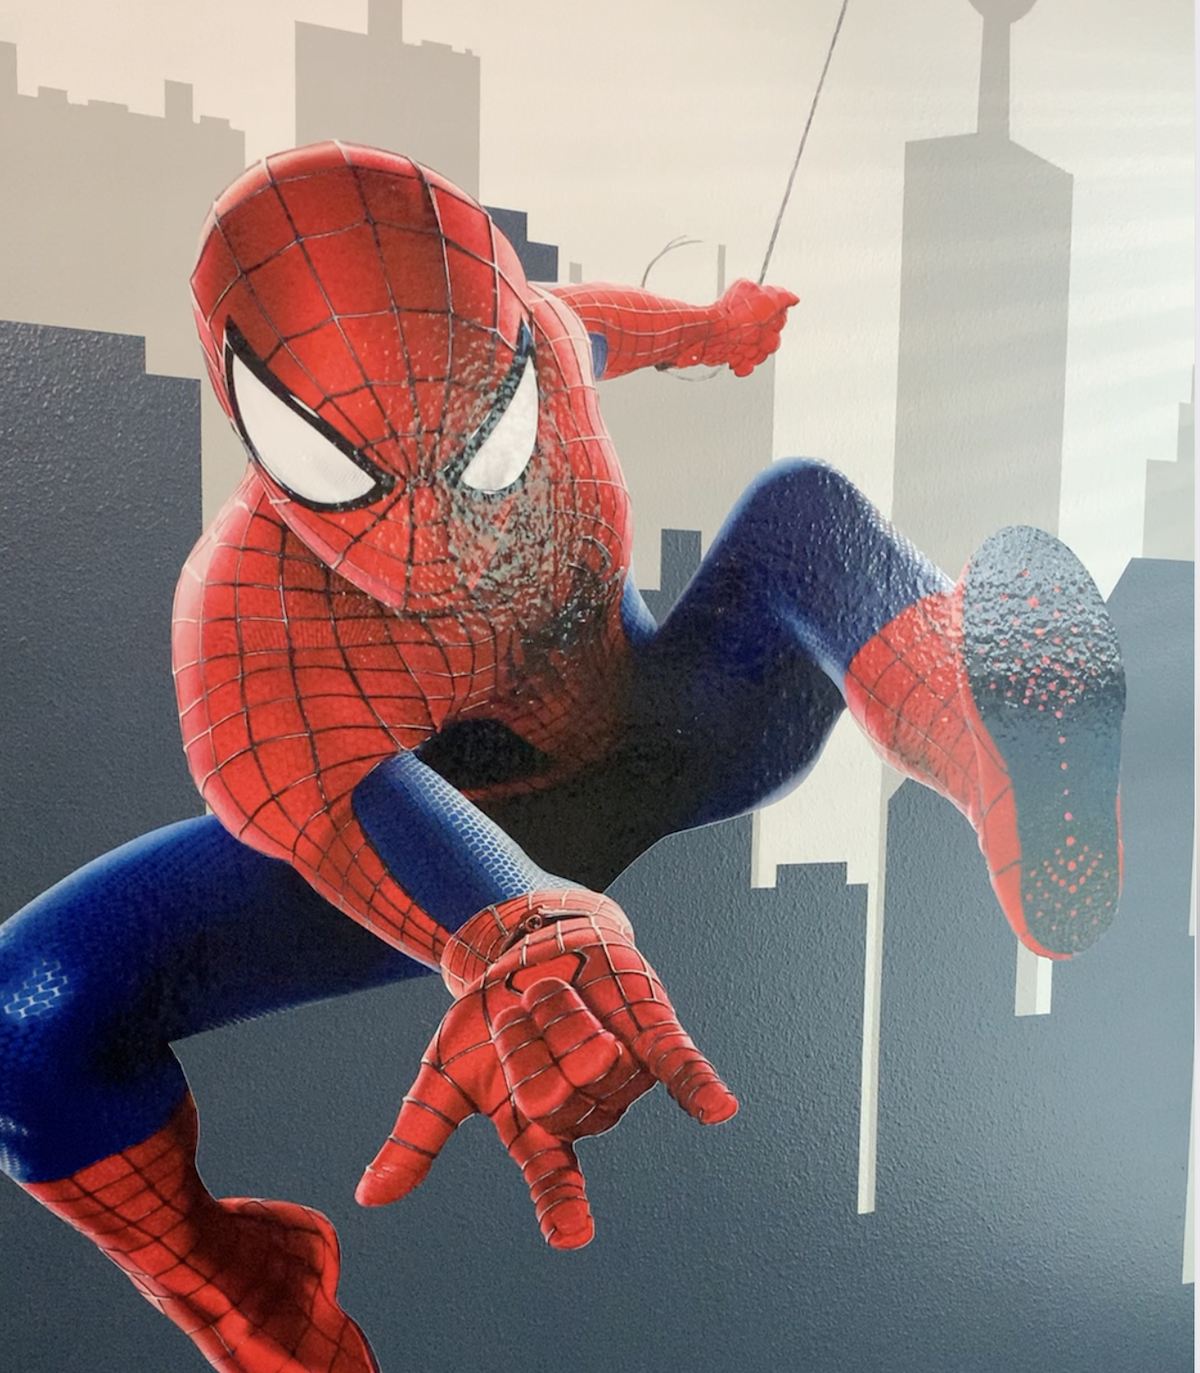
Add your sticker pieces. We opted for a large Spiderman sticker and some yellow windows. We purchased the Spiderman sticker on Etsy and I made the small window squares using my Cricut.
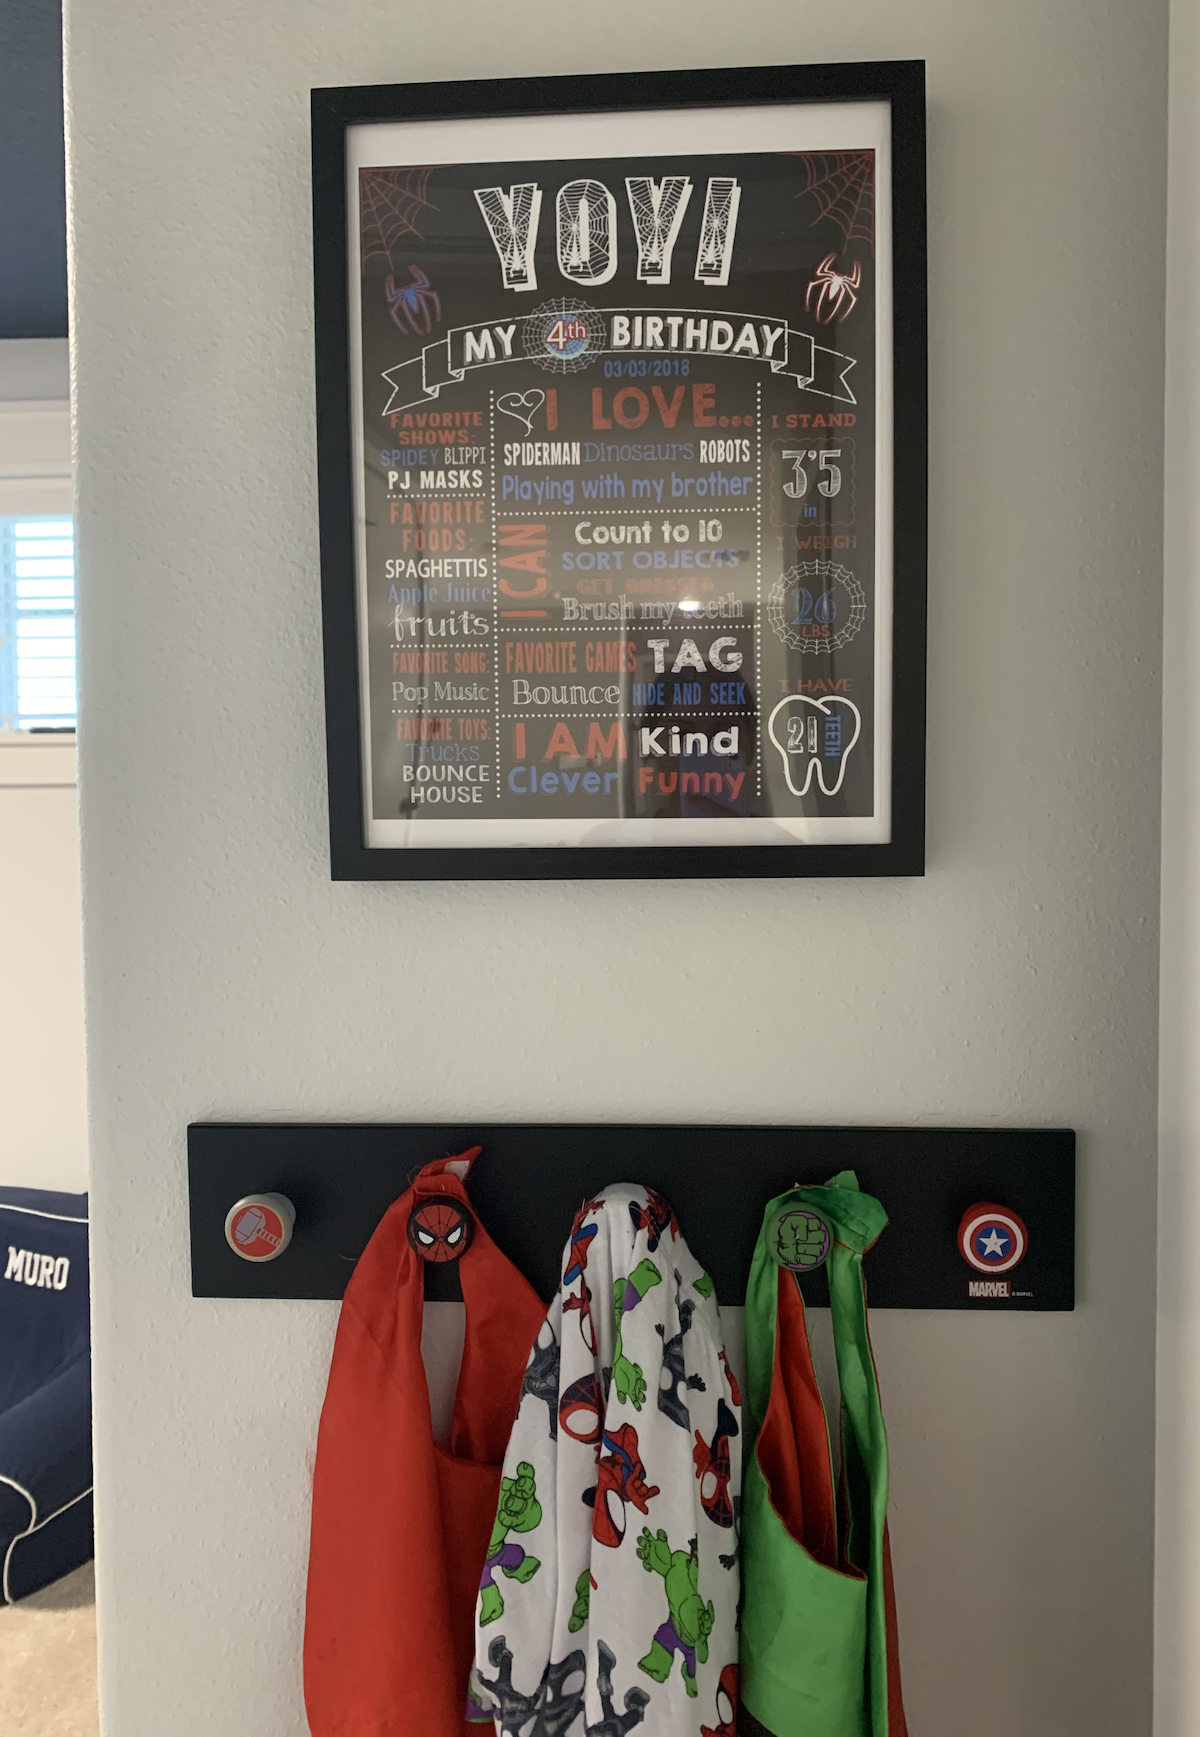
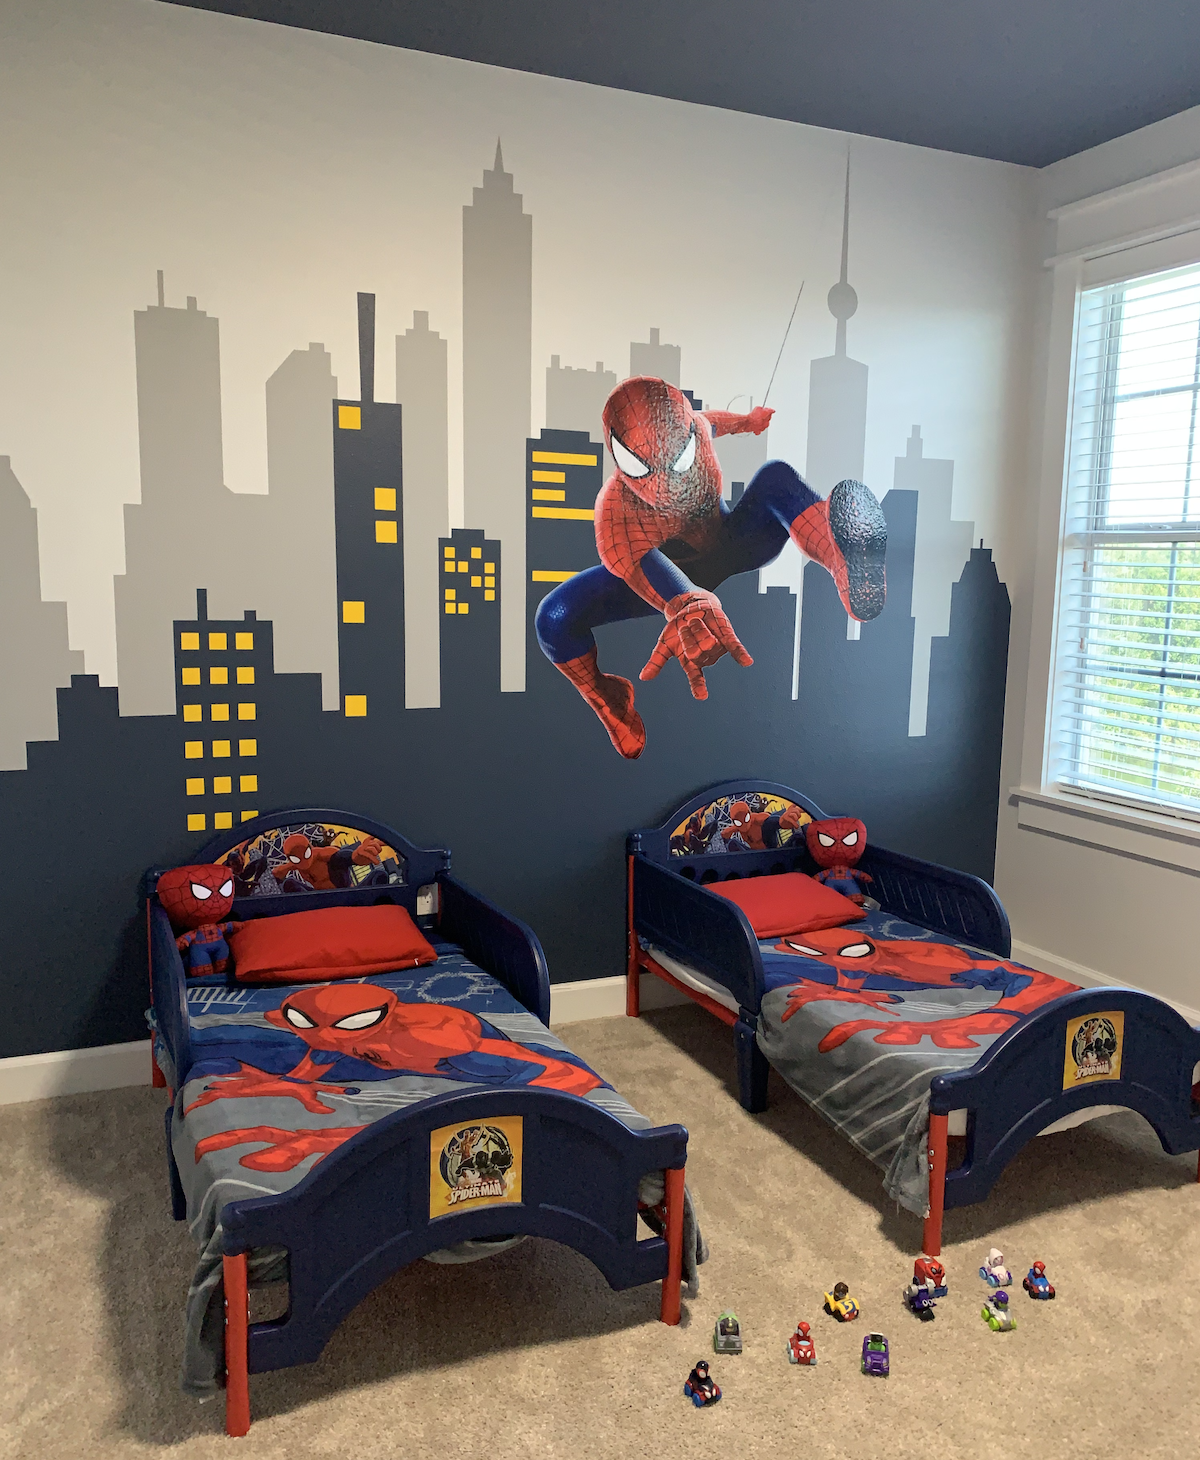

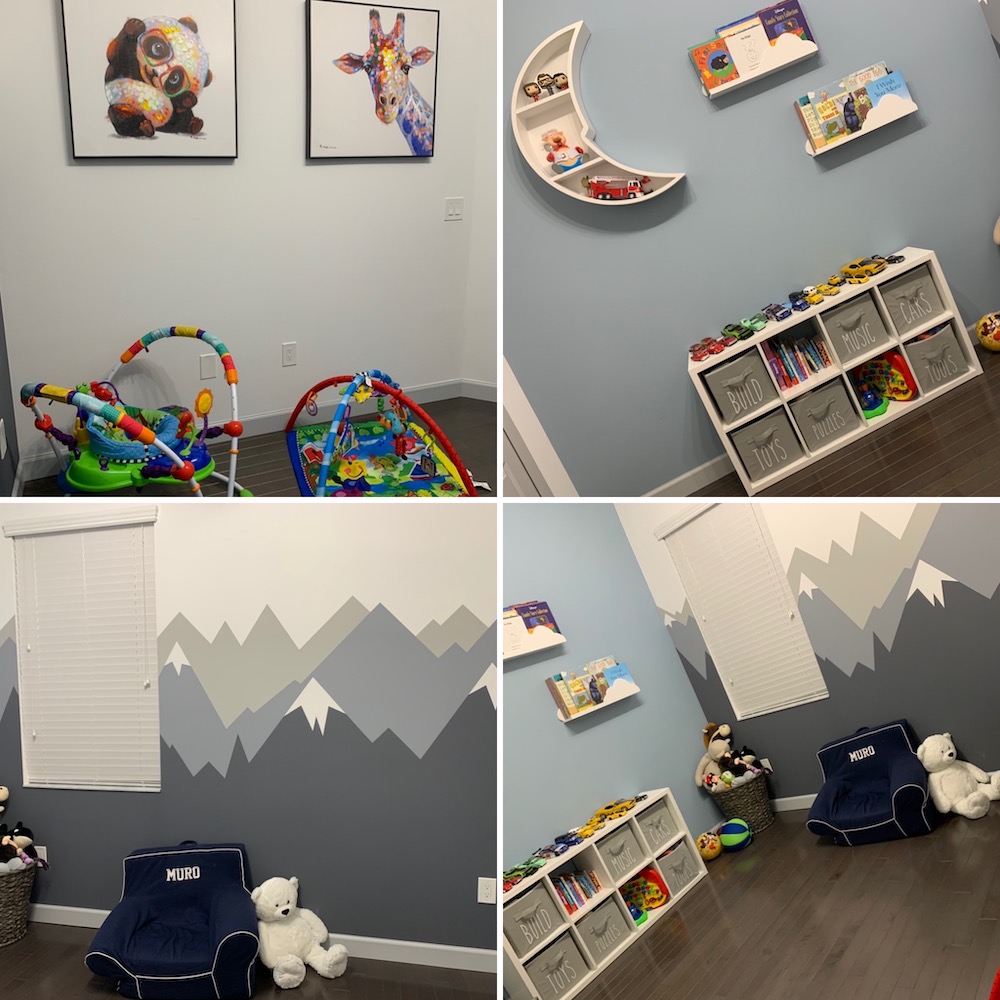
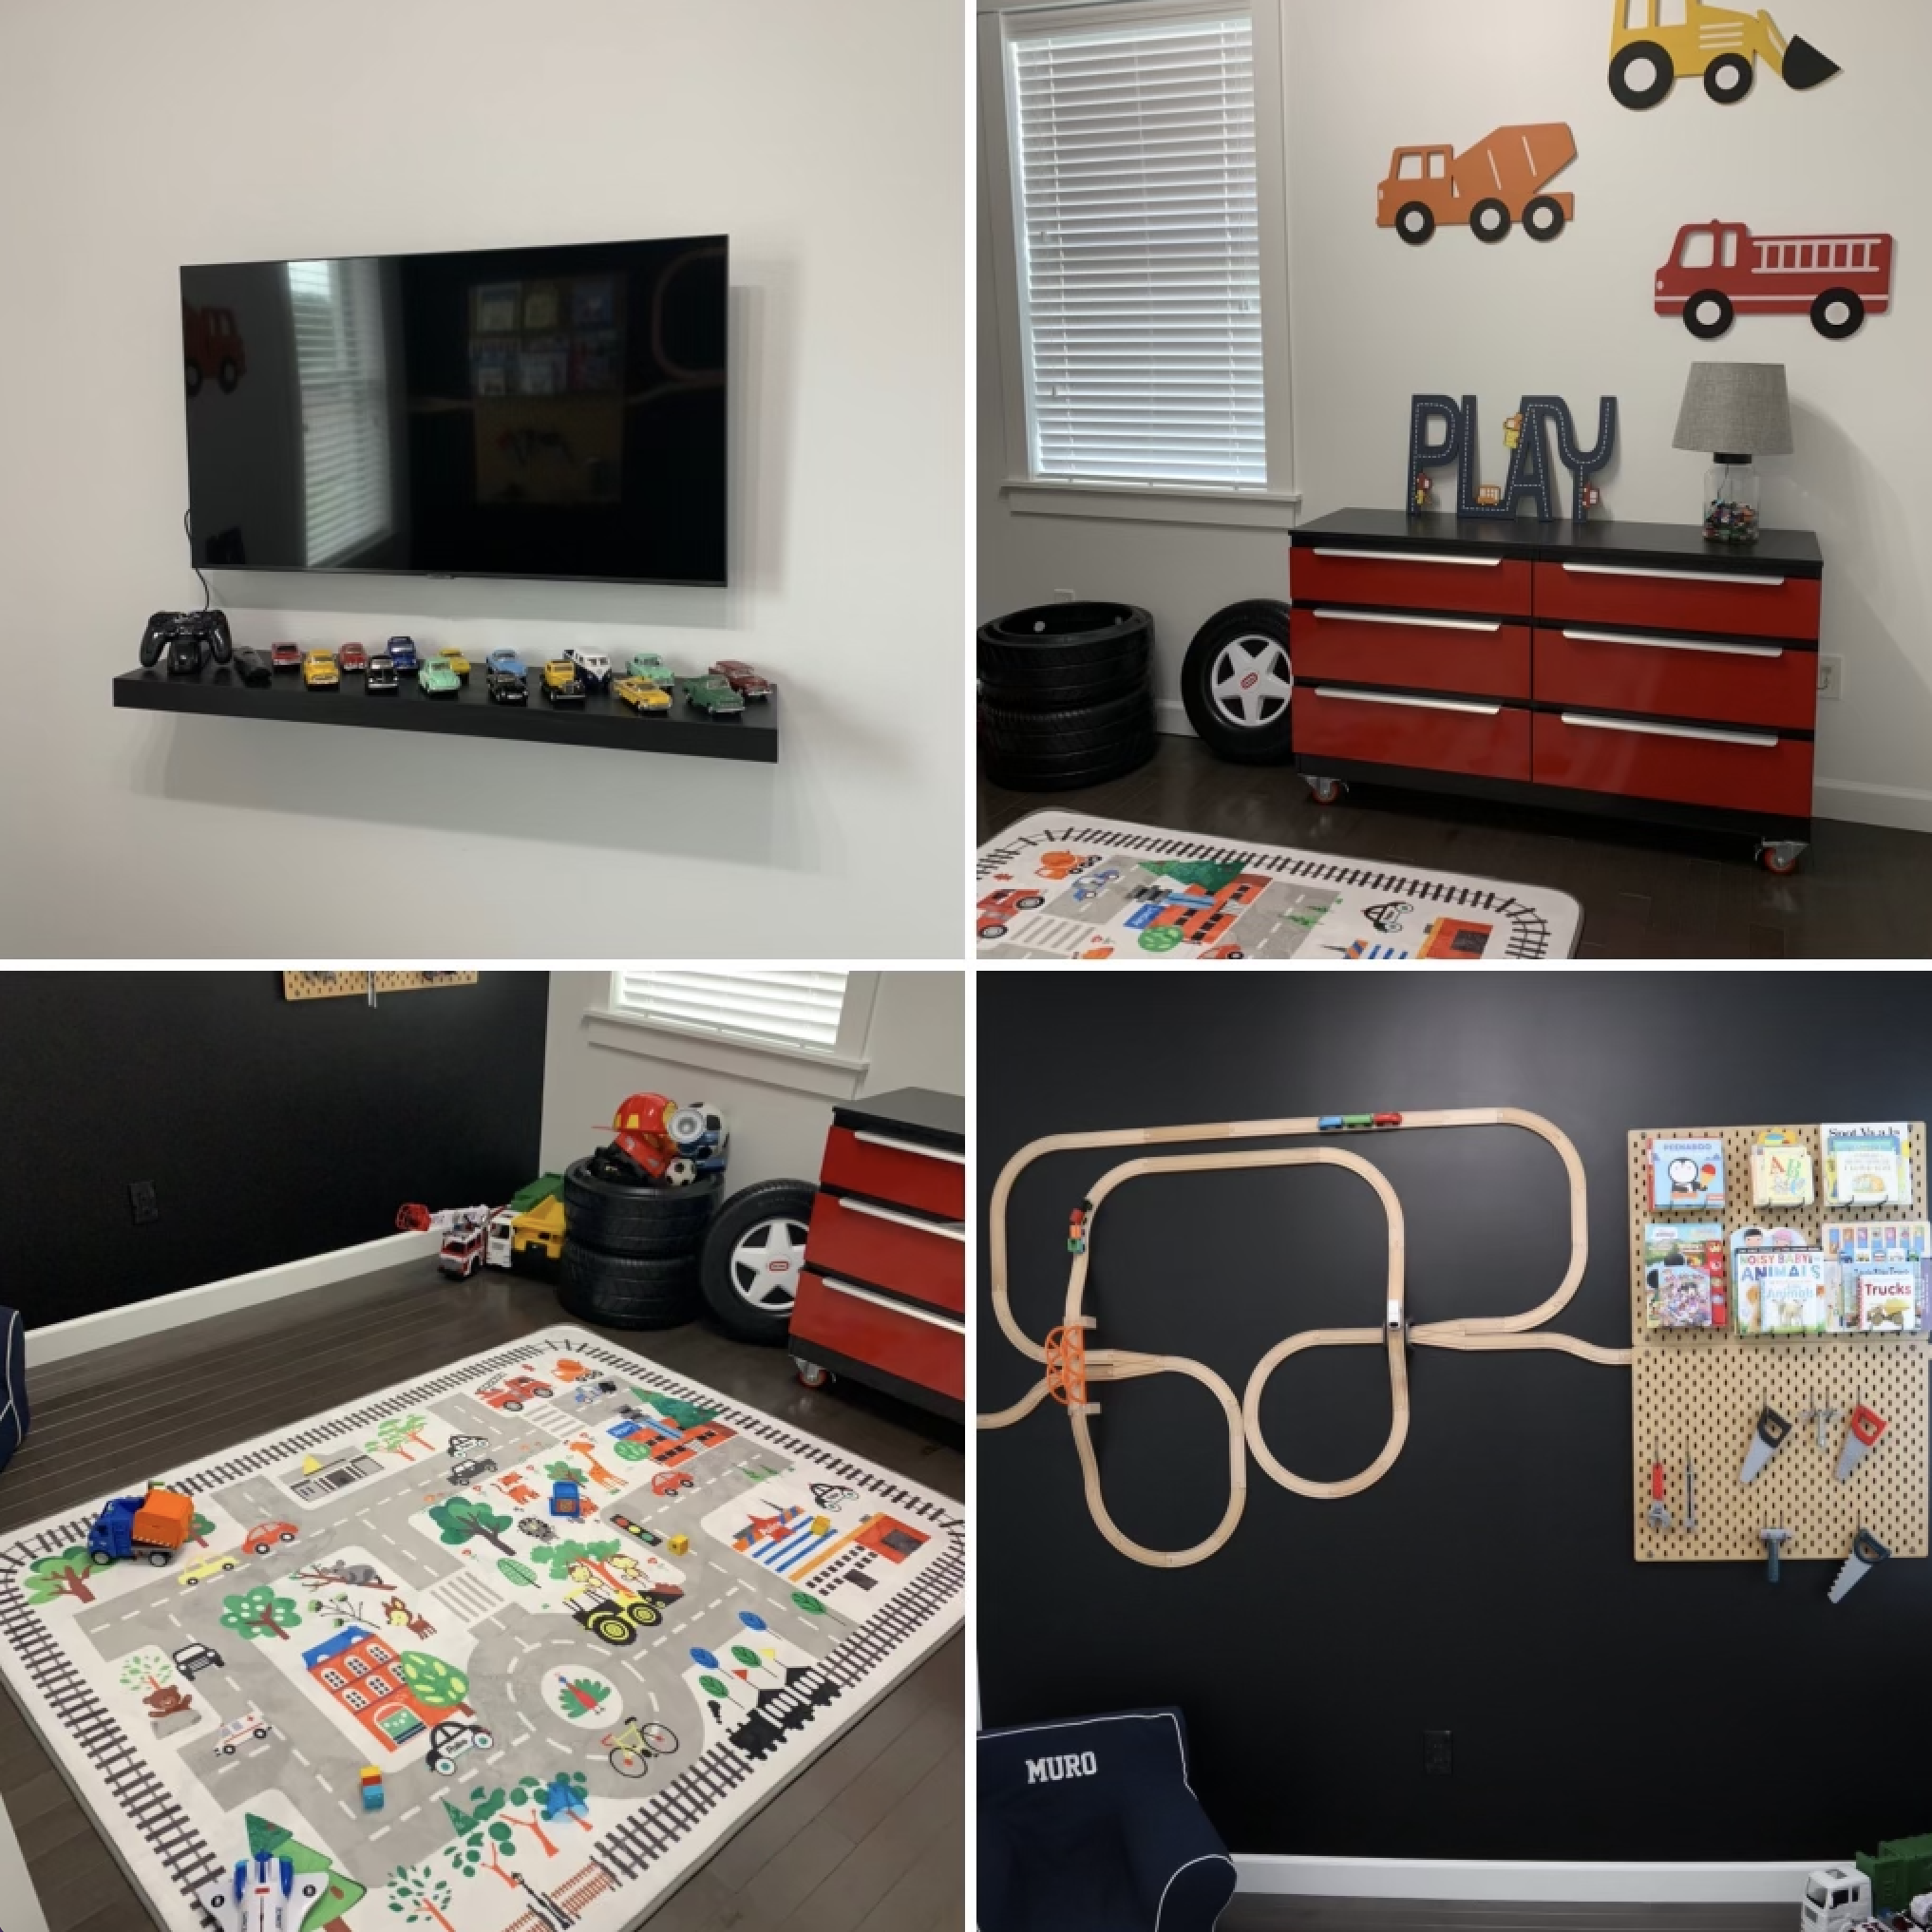
Here is a view into some other areas of their newly decorated room. They are all cute and special, but surely nothing compares to the amazing Spiderman mural.